Transforming your smile doesn’t have to be complicated, especially when it comes to dental veneers. Whether you’re looking to correct discoloration, chips, minor misalignments, or gaps, veneers offer a fast and effective cosmetic solution. These wafer-thin, custom-made shells bond to the front surface of your teeth, creating a natural-looking, flawless appearance.
If you’ve been considering dental veneers in Coral Gables, you’re not alone. More and more patients are turning to this advanced cosmetic solution to enhance their confidence and appearance. Understanding the step-by-step process can help you feel informed, comfortable, and ready to take the first step toward a brand-new smile. Let’s dive into how the veneer process works from start to finish, so you’ll know exactly what to expect.
What Are Dental Veneers?
Dental veneers are ultra-thin shells, usually made of porcelain or composite resin, custom-crafted to fit the front of your teeth. They are bonded permanently to create a smooth, even, and radiant smile.
Common reasons people get dental veneers include:
- Stained or discolored teeth that don’t respond to whitening
- Chipped, cracked, or worn-down teeth
- Uneven or irregularly shaped teeth
- Gaps between teeth
- Mild misalignment
Veneers are not only cosmetic; they’re functional, too. They reinforce the structure of damaged teeth and protect them from further wear.
Procedure for dental veneers:
Initial Consultation
The first step of the veneer journey starts with a comprehensive consultation. This is where your goals, oral health, and expectations come into focus.
During your initial consultation, your dentist will:
- Evaluate your teeth, gums, and bite
- Discuss your cosmetic goals and ideal outcome
- Take X-rays or 3D scans of your mouth
- Determine if you’re a good candidate for veneers
Patients exploring dental veneers in Coral Gables will appreciate the tailored, one-on-one approach we take to ensure the veneers are a match for their lifestyle, budget, and appearance goals.
Digital Imaging and Smile Design
In today’s modern dental world, veneer procedures are far more precise thanks to digital technology. Before any preparation begins, your dentist may use digital imaging or smile design software to simulate how your smile will look after the veneers are placed.
This phase ensure that:
- You get a preview of your new smile
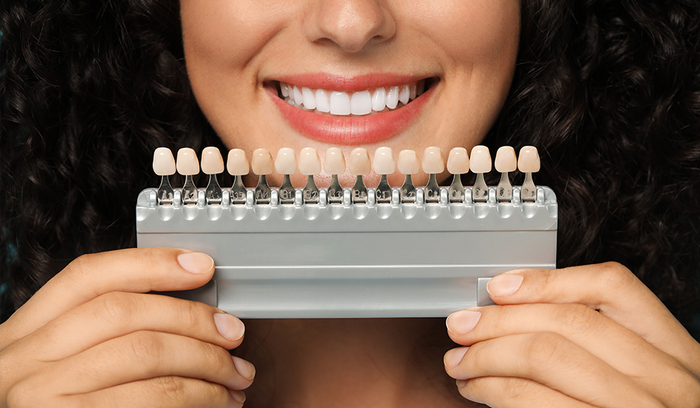
- The shape, size, and shade of each veneer match your face
- Adjustments can be made virtually before anything is done to your teeth.
This step not only reduces chair time later on but also enhances the accuracy of your final results.
Tooth Preparation
One of the most critical steps in the veneer process is tooth preparation. Your dentist will remove a small amount of enamel from the surface of the teeth, just enough to allow the veneer to sit flush without adding bulk.
Here’s what you can expect during this step:
- Local anesthesia may be used for comfort (though often unnecessary)
- Enamel is gently shaved to prepare the tooth surface.
- Impressions or digital scans are taken to craft your veneers.
Tooth prep is typically painless and preserves most of your natural tooth structure.
Temporary Veneers
In many cases, temporary veneers are placed while your permanent ones are being fabricated. These provisional veneers help protect your teeth and allow you to “test drive” your new smile.
Temporary veneers allow you to:
- Eat and speak comfortably while waiting
- Adjust to the feel of veneers in your mouth
- Provide feedback on fit and aesthetics before the final placement
Your final veneers usually take 1–2 weeks to be created in a dental lab.
The Final Transformation
Once your custom veneers arrive, it’s time for the most exciting part—your smile transformation!
During your final appointment, your dentist will:
- Trying in each veneer for fit, color, and contour
- Make any necessary tweaks to match your smile perfectly
- Clean and etch the tooth surface for strong bonding
- Apply a special cement and cure it using light-activation technology
- Remove excess cement and polish the veneers
This step requires precision and artistry, ensuring each veneer looks natural and seamless.
Post-Placement Care for Dental Veneers
After your veneers are placed, your new smile is ready to show off—but ongoing care is essential to maintain their brilliance and longevity.
Post-placement care tips:
- Brush and floss daily with a non-abrasive toothpaste
- Avoid biting into very hard foods (like ice or hard candy).
- Limit staining foods and drinks (like red wine or coffee).
- Use a mouthguard if you grind your teeth at night.
- Visit your dentist regularly for cleanings and checkups.
With proper care, dental veneers can last 10–15 years or more.
How Long Does the Entire Veneer Process Take?
From your initial consultation to final bonding, the entire veneer process typically takes 2 to 4 weeks, depending on lab turnaround times and the number of veneers being placed.
Your schedule may look like this:
- Week 1: Consultation and planning
- Week 2: Tooth preparation and impressions
- Week 3 or 4: Veneer placement and polishing
Ready for Dental Veneers in Coral Gables
A beautiful, confident smile is well within reach, especially when you know what to expect. The veneer process is a seamless blend of science and artistry, offering fast, long-lasting cosmetic improvements with minimal discomfort.
At Forma Dental in Coral Gables, we take pride in guiding patients through their smile transformation journey with precision, care, and customization. Our experienced cosmetic team will help you achieve a look that feels as good as it looks.
If you’ve been dreaming of a whiter, more even smile, it’s time to explore the life-changing benefits of dental veneers in Coral Gables. Contact us today to schedule your consultation, we’ll help you design the smile you’ve always wanted.